Adding and verifying a domain
You verify a domain once. Verification proves you own or manage the site, so nobody can scan domains they do not control. Until it is verified a domain stays marked ◯ Unverified and cannot be scanned.
Step 1 — Add your domain
- Open your Dashboard and go to the Domains tab. Unverified domains also appear on the Overview tab.
- Under Add a Domain, type your domain on its own — for example
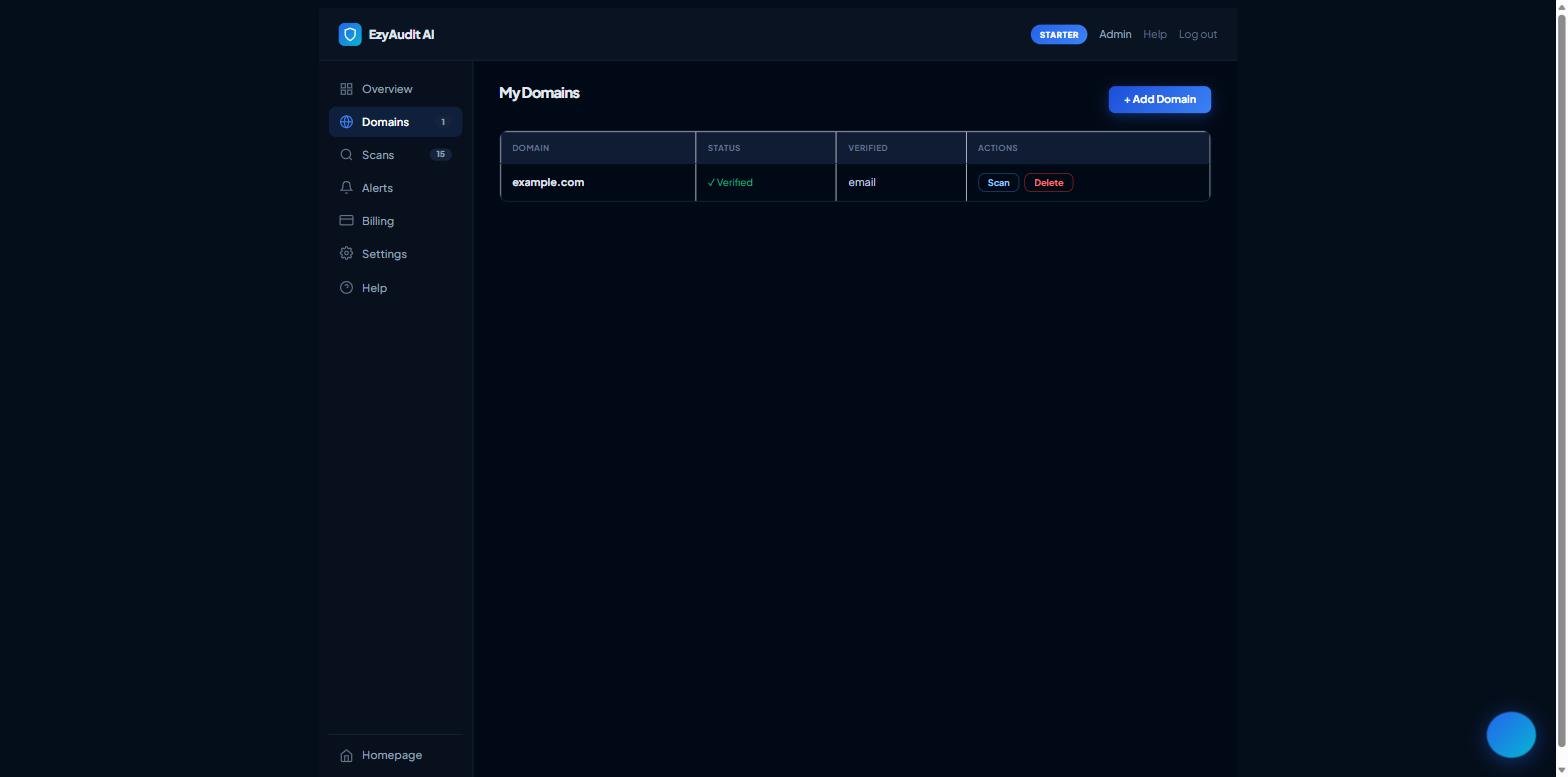
example.com, with no scheme and no trailing slash — then click Add. - The domain appears in your list marked ◯ Unverified with a Verify button beside it.
Step 2 — Choose a verification method
Click Verify on the domain, then pick whichever of the three methods below is easiest for you. You only need to complete one of them.
Method 1 — DNS TXT record (recommended)
Best if you can reach your domain DNS settings. It works no matter where your website is hosted.
- Sign in to your domain registrar or DNS provider — for example GoDaddy, Namecheap, Cloudflare, or Hostinger.
- Open the DNS management or DNS records area for your domain.
- Add a new record with these values:
- Type: TXT
- Name / Host:
@— this means the root of your domain. Some providers want the domain itself, or a blank field, here. - Value / Content: the exact string shown in the Verify panel, which looks like
ezyaudit-verify=your-unique-token. - TTL: leave the default — for example 3600, or Automatic.
- Save the record.
- Wait a few minutes for the change to take effect. DNS can occasionally take up to 48 hours to fully propagate.
- Return to EzyAudit and click Check DNS.
Method 2 — Verification file
Best if you can upload files to your website, for example through cPanel, FTP, or your hosting file manager.
- Create a plain text file named
ezyaudit-verify.txtthat contains only your verification token — the code shown in the Verify panel — on a single line. - Upload it into a folder named
.well-knownin your website root directory, so it can be opened at:https://yourdomain.com/.well-known/ezyaudit-verify.txt - Open that address in your browser to confirm it loads over HTTPS, shows your token, and does not redirect anywhere.
- Return to EzyAudit and click Check File.
The folder name starts with a dot (.well-known). On some systems dot-folders are hidden — turn on show hidden files in your file manager if you cannot see it after creating it.
Method 3 — Email verification
Best if you can receive email at an administrative address on the domain.
- In the Verify panel, open the Email tab.
- Enter an administrative email address at your domain — for example
admin@yourdomain.com,webmaster@yourdomain.com,hostmaster@yourdomain.com, orpostmaster@yourdomain.com. - Click Send. We will email a verification link to that address.
- Open the email — check your spam folder if it does not arrive within a few minutes — and click the verification link to confirm ownership.
The address must be a real mailbox at the domain you are verifying. A personal Gmail or Outlook address will not work, because it does not prove control of the domain.
Step 3 — Finish verification
For the DNS and file methods, click Check DNS or Check File once the record or file is in place. For the email method, clicking the link in the email finishes verification automatically. When it succeeds, the status changes to ✓ Verified and you can run a security scan on the domain.
Troubleshooting
- TXT record not found — DNS propagation is the usual cause; wait a little and try again. Double-check that you copied the whole token and saved the record at the root of your domain, not inside a subdomain.
- File check fails — confirm the file opens at the exact
/.well-known/ezyaudit-verify.txtpath over HTTPS, contains only the token, and is not behind a redirect or a login page. - No verification email — check your spam folder, confirm the mailbox actually exists and can receive mail, and make sure you used an address at the domain you are verifying.
You only need to verify a domain once. After it is verified you will not have to repeat this — and you can safely remove the TXT record or file afterwards if you prefer, though leaving it in place does no harm.